Today I'm going to share my favorite Quiche recipe. I guess I should say that I have worked as a chef for many, many years so I have lots of tricks and cool stuff to share.
This is a recipe for an Italian Quiche and it can be found under Recipes, to the right. Mild Italian sausage (because Hubby doesn't like spicy), green peppers, red peppers, onions, and Italian cheeses. I use a really nice store bought pie crust because I just don't have the time to make the crust from scratch. I used to, back in the day when I would run a Sunday Brunch, but those days are long gone! Sometimes I'm happy I don't have the stress anymore, and other times I miss it immensely. It's all I've known and I loved the challenge.
On a hooky note.....I think my problem, in my opinion, is that I am too impatient and antsy. My Hubby says it's because I'm an Aries and most times I blame all the bad stuff on that fact, but I'm really not sure if it's that or a character flaw!
I am currently in the middle of my HUGE Granny Stripe blanket, a blanket I'm making for Baby Girl, and I have decided this morning to start a set of 4 placemats for our kitchen table.
I thought it would be a nice idea to do a little tutorial for those of you who had never heard of or didn't know how to do a foundation single crochet. It's so simple, yet makes such a huge difference in the finished product.
When starting a chain, some people use a bigger hook than they use for the rest of their project. That's because the chain has little to no give once you start putting your stitches in. This can result in a slight bend on that first row. Soooooo, for this project of placemats, I really wanted all sides to be as straight as possible. That's why I decided to start out with a foundation single crochet!
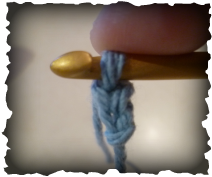
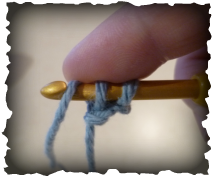
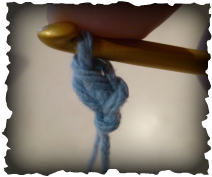
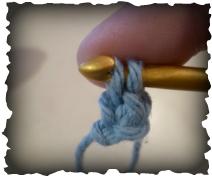
Start with a slip knot and chain 2
Insert your hook into the first chain that you created
Yarn over
Pull yarn through 1st loop so you have 2 loops remaining on your hook
Yarn over again
Pull yarn through remaining loops
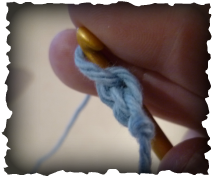
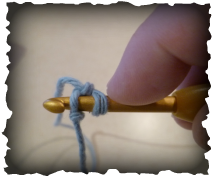
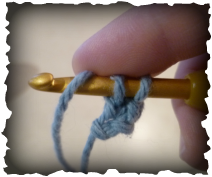
If you turn your work slightly to the left and look, you will see what your hooking has created. This is where you will be inserting your hook in the next step
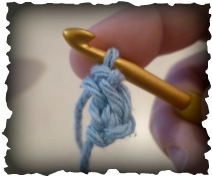
This is somewhat of a side view of where to stick your hook

Again, yarn over. You will be repeating the previous steps
Pull yarn through the first loop so that you have 2 loops remaining on your hook
Yarn over
Pull yarn through remaining loops
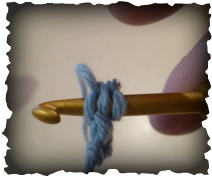
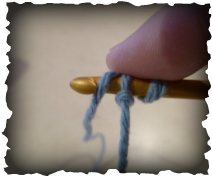
Tilt work slightly to the side again and find the chain that you created and insert your hook into the chain
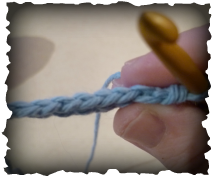
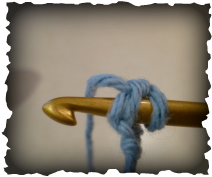
Keep repeating the steps until you build up a bit of hooky work. This is the chain side that was created
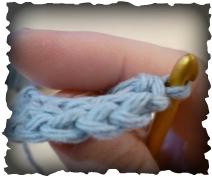
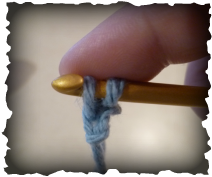
And this is the single crochet row that was created on the opposite side
Once you get your work to the desired length, just turn as usual and work across using whatever stitches your project calls for.
Feel free to contact me with any questions or problems!
Until next time....
Juls xoxo
Feel free to contact me with any questions or problems!
Until next time....
Juls xoxo
 RSS Feed